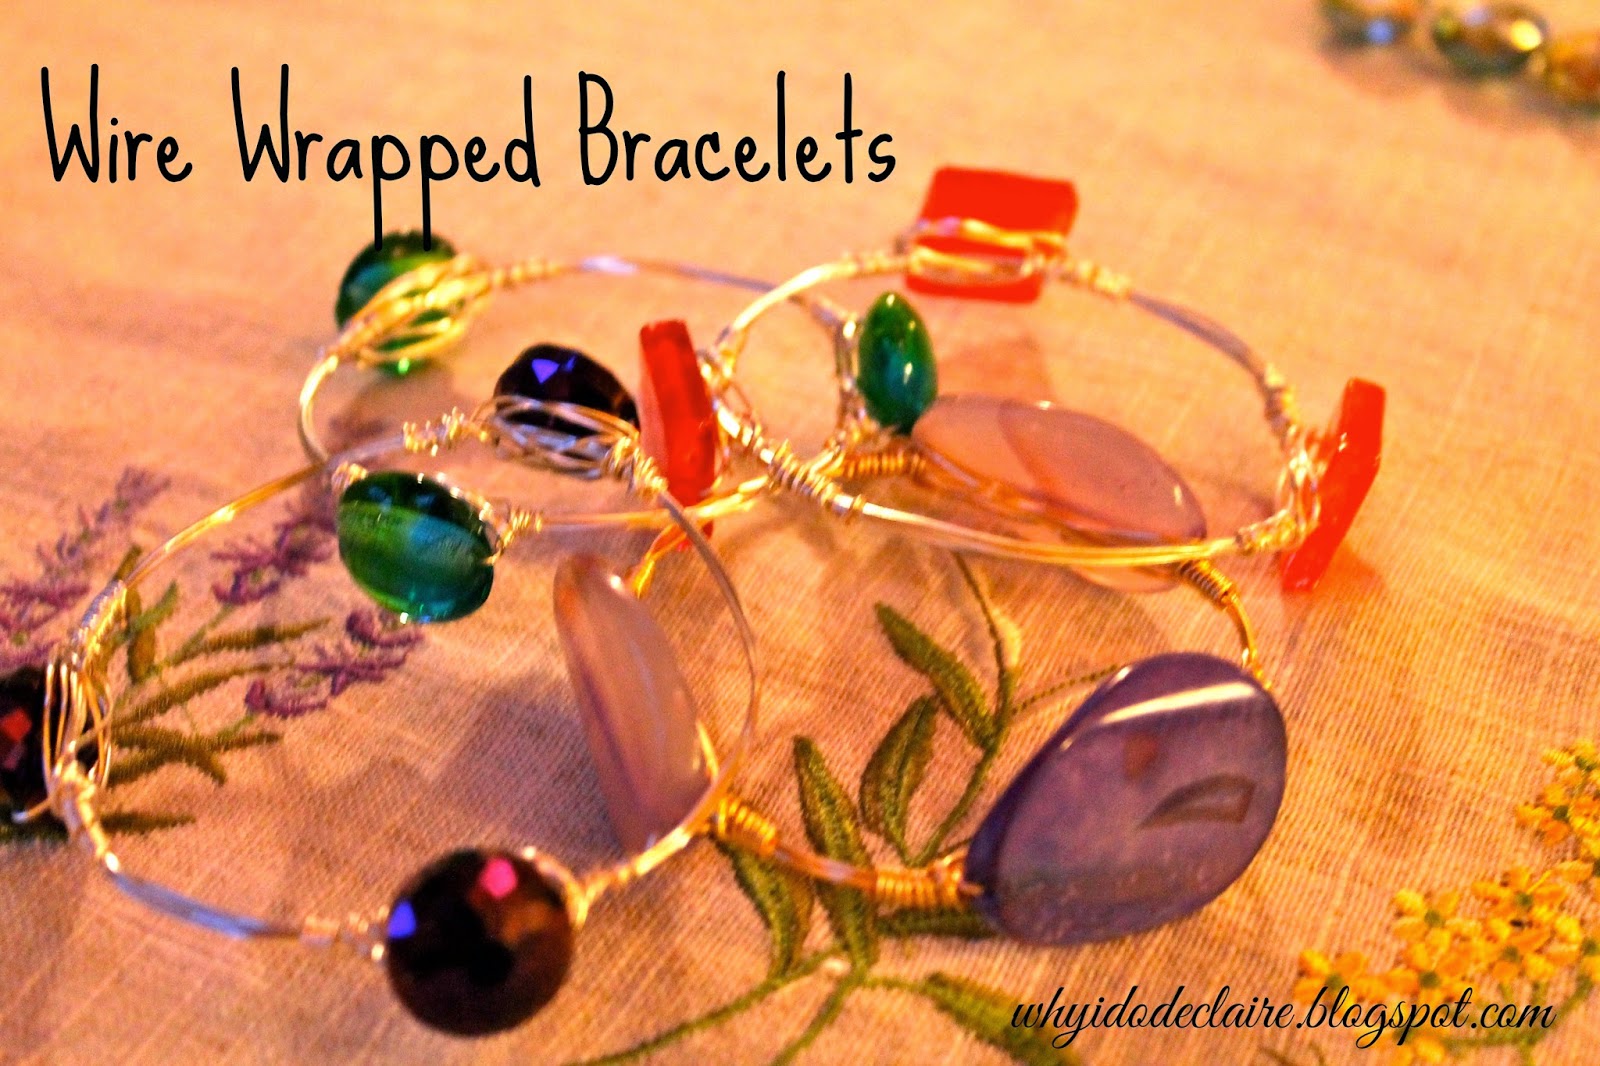
When my sister in law was here last week she had some beautiful bracelets on. I loved the look of them and the stones that were on them. I complimented her on them and she told me she made them! I was so excited when she offered to show me how. And then we made like 10 each. They are addictive! I had so much fun making these and so of course I am doing a tutorial so you can all make some of your own!
1. You will need 20 gauge wire, stones or beads, and a pair of pliers (and wine, especially if you are making these with others because it makes it lots more fun!). I found all these supplies at my local craft store and borrow the pliers from my husband’s toolbox.
2. Measure the wire so it is the circumference you want. Don’t cut it yet! Do it two more times so the bracelet will be 3 layers of wire thick. Cut it an inch or two longer than you need then twist the extra length around the layers of wire so it is secured. This is the base of your bracelet.
3. Pick the stones or beads you will be using. Measure a length of wire to attach the bead/stone onto the bracelet. I found it helpful to cut the wire the length of my forearm.
4. Twist one end around the bracelet base a few times to secure it. Add your bead.
5. Twist the wire on the other side of the bead once.
6. Use the wire to make an X behind the bead to secure the back of it and in a circle around the back of the bead between the bead and bracelet base. Then use the remaining length of wire to twist it around the bracelet base again (on the side where you only twisted it one time and my thumb is in the pic).
7. Repeat steps 3-6 until you have added a total of 3 or 4 beads onto your bracelet.
8. Have fun mixing it up by using a couple beads together or just one row of small beads onto the bracelet. It’s all about what you want!
linking up with Monday Bloom, Mix it Mondays, Monday Mingle, Fashionably Employed, Summer Link Up, I Would so Rock This

