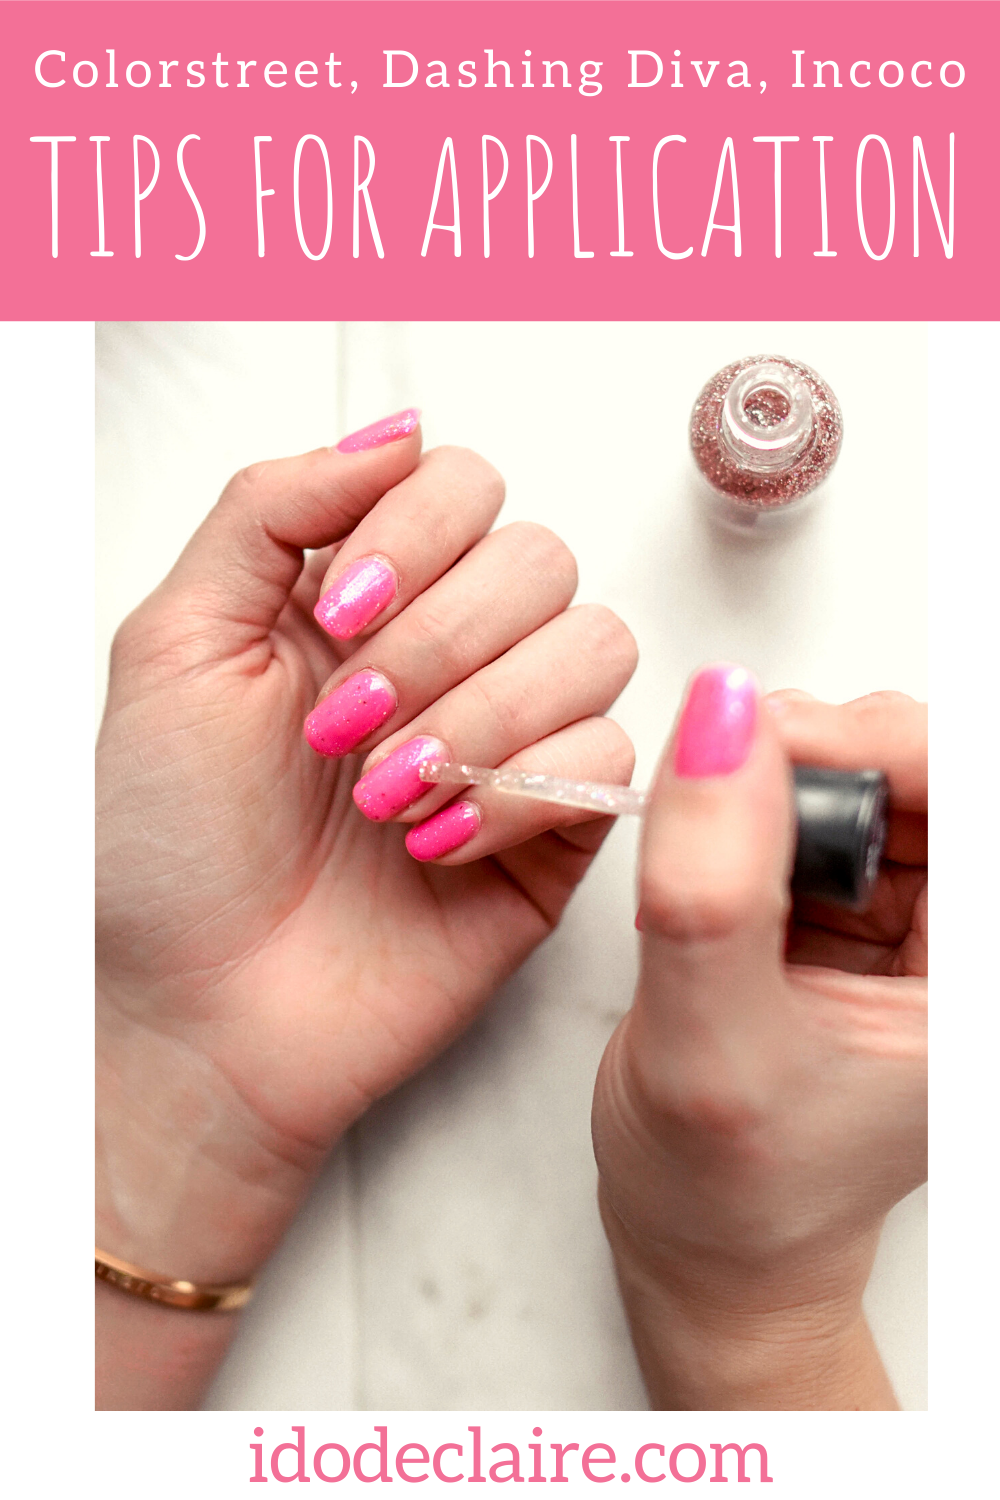
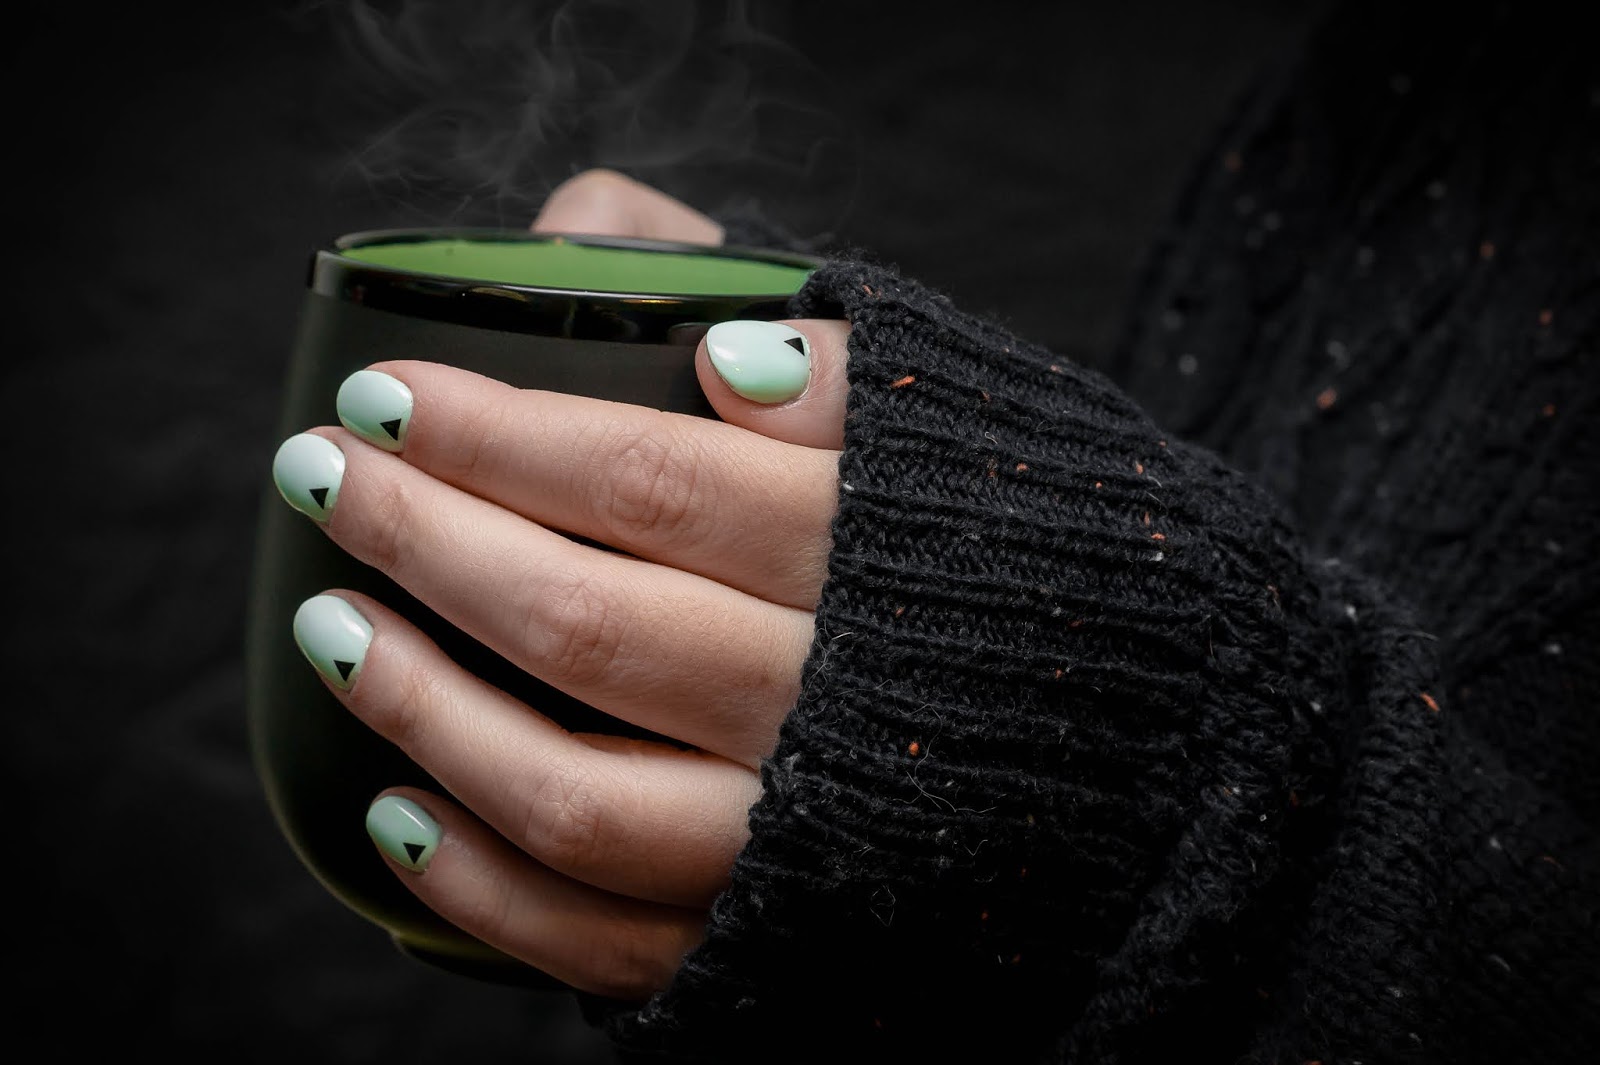
I’ve mentioned before, I absolutely love nail wraps. I never thought I would after initially trying the Jamberry brand about 5 years ago. They were alright. It took forever to apply, lifted at the edges and needed touch ups, and damaged my nails when I took them off. Thankfully the products have come a long way in such a short amount of time! When I heard of Colorstreet I was definitely curious. I received some samples to try out and was very impressed with how easy they were to apply. And after wearing them a week, I was impressed with how well they stayed on. It took a bit to get them off with nail polish remover, but no damage to my nails! As a mom who is changing diapers, washing my hands about 14 times a day, cooking, doing dishes and laundry, and playing outside having a long wearing manicure I can do at home is important. I don’t have time to wait for my nails to dry and at home gel nail polishes don’t really stay more than 4 days for me anyway.
Since first trying Colorstreet, I have been trying different brands and seeing how they apply, wear, and remove. I compared my 3 favorite brands and talked about their pros and cons in this post. Then I took months to test 5 MORE brands and review them! Since it seemed to be so well received and popular I want to expand on it! Today I’d like to share some tips on applying them that I have found helpful to get the longest wear out of them!
Colorstreet & Incoco
- Did you know they are made by the same company? They started making Incoco available at Walmart, Target, and Ulta before starting the Colorstreet side of the company. Incoco is less expensive, but Colorstreet has far more options and even a clear options to apply over top of a color to help it last longer.
- The glitter ones are thicker and apply MUCH easier and smoother than the printed or solid ones. The also wear better and last longer.
- Trim and file your nails, but keep them a little longer than you typically do. You can always trim them shorter after you have the strips on. And if these wear off a bit at the tip after a few days you can file that part off and they look freshly applied again! Slightly longer nails allow for this.
- Always wash hands and clean nails with rubbing alcohol or nail polish remover.
- Push back cuticles as much as possible. They can interfere with a seal.
- Have nail scissors, nail file (glassworks best), and orange wood stick nearby to help you apply.
- When applying I like to get 2 nails covered with 1 strip because my nails are on the shorter side. Only touch the middle portion of the strip to avoid your finger oils making it less sticky.
- Don’t size it perfectly to your nail. I find that a size smaller works better, if possible. Then you are less likely to get the edges of your nails and you have a little wiggle room. Think about it like a parking spot. Your car is always smaller than the spot so it fits between the lines. It would be very difficult to put a car the exact same size in between the lines!
- Always butt the strip up against the base of your nail first as far back as you can go. The closer you get, the longer you can wear them because regrowth won’t be as obvious. After the base is applied, push down the center of the nail and then the sides.
- I cut off the excess for applying to the nail on my opposite hand immediately. Then I fold them over the tip of my nail and file both down with my glass nail file. A glass nail file seems to result in a smoother edge with the nail strip. Try to file in one direction and in a downward motion.
- I’ve never had issues with lifting, but I do see a bit of wear at the tips of my nails after a few days. That is when I clip or file my nails a bit to ‘freshen’ them up!
- I like to apply these at night. Although they are technically dry, I find that giving them the night to ‘cure’ so-to-speak results in a better seal. When I’ve gone directly into washing dishes or taking a shower and washing my hair, they don’t seem to last as long.
- Realize that removing will take about 20 minutes. I use CND nail polish remover and it works well. I often have glitter all over my hands at the end, but a sugar scrub takes it all right off.
- When you are done applying your nail strips, put them back in the bag and reseal the bag with a straight iron. Then pop them in the freezer. It helps the nail strips from drying out and helps them keep longer. I can normally get 2-3 manicures or pedicures from a set.
- You can use larger sizes for your fingers, but keep one side aligned with your nail edge and the other side over hangs your nail. You can perforate it with an orange wood stick or your fingernail and peel off the excess. Keeping it aligned on one side means you only have to deal with the excess on the opposite side. Perforating it yourself doesn’t look quite as clean, but it does help you use an entire pack and get your money’s worth!
- These nail strips are not made of nail polish. They are more like a plastic or vinyl material with adhesive. The packs I buy include statement nail strips. The glitter, print, and solid colors all seem to be about the same thickness and apply the same way with the same staying power.
- Prepare your hands and nails by washing with soap and drying well. Make sure you haven’t applied lotion in a couple of hours. Clean nails with alcohol or nail polish remover.
- Push back cuticles.
- It’s especially important to use a size smaller for your fingers with these strips. They are not easy to reposition and can damage your nails. The better the edges seal the longer they will stay! And using a slightly thinner strip makes your fingers and nails look longer!
- One strip will only work for one nail. After I apply it, I hold down the top of the strip where the extra length is, with one finger to pull it down and keep it tight then I use a glass nail file to file the extra off. Try to file in a downwards motion only.
- I also apply these at night or if I don’t have much planned for the next couple of hours. It may be completely wrong, but I think taking it easy on your nails helps the adhesive seal to the edges of your nail, especially the nail tip.
- If for some reason they start to lift at the edges, you can try pressing them down or you can use a nail clipper or file to file your nail and nail strip down,
- To remove, apply cuticle oil at the base of the strip and use orange wood stick to slowly work it off the nail. It takes me about 10 minutes to apply and 10 minutes to remove. No nail damage that I’ve ever seen.
- I can get about 3 manicures from a set. I do cut down nail strips that are too wide when I get to the end of a pack. When I trim them down, I do it when the nail strips are on the sheet before removing them. They seem to work just as well when I trim them.
- These are thicker than Incoco and Colorstreet nail wraps, but are applied in the same way. Check out my above tips.
- You can apply a layer of base coat if desired. I didn’t and they lasted a week easily.
- Do NOT immerse in hot water for a few hours after application. The hot water can lift the nail wraps.
- To use 1 wrap on 2 nails, make sure you only touch the middle of the length of the wrap. Trim off the silver tab, apply on 1 nail then trim off the excess with nail scissors and apply to the nail on the opposite hand.
I hope these tips help you if you decide to try out these products for yourself! I’ve been using them for about a year now and it’s safe to say I’m a big fan of all of these!


