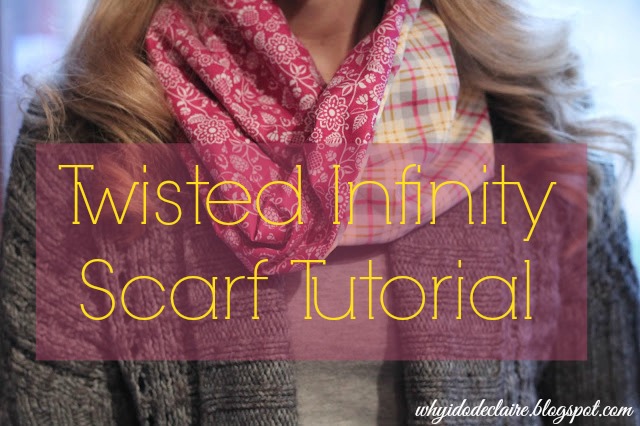
Each year I like to think of a few DIYed gift ideas for friends and family. I know that when I receive a DIYed gift, it means a lot because of the time and love the person put into making it. A couple winters ago I made some infinity scarves for myself. They were super easy. Thinking about those scarves and a knit scarf that had a twist in it my mother-in-law made me last winter had me creating an idea for a twisted infinity scarf made of material. It turned out so cute I decided I needed to share the super easy tutorial! I am the first one to say I am not a great sewer, but I was able to make three of these from two yards of fabric and they were done in under an hour!
Probably the hardest part was choosing two different fabrics to use. I wanted to mix prints and it turned out to be way too many options for me! I finally found a pretty floral print and plaid fabric that had the same shade of pink in them and looked adorable together. I got a yard of each because I wasn’t quite sure how much I would need. If you are only making one scarf, you could get 1/2 yard. Here are instructions on how to make your own:
Materials:
2 cuts of fabric 1/2 yard or more each
scissors
fabric marker
matching thread
pins
Directions:
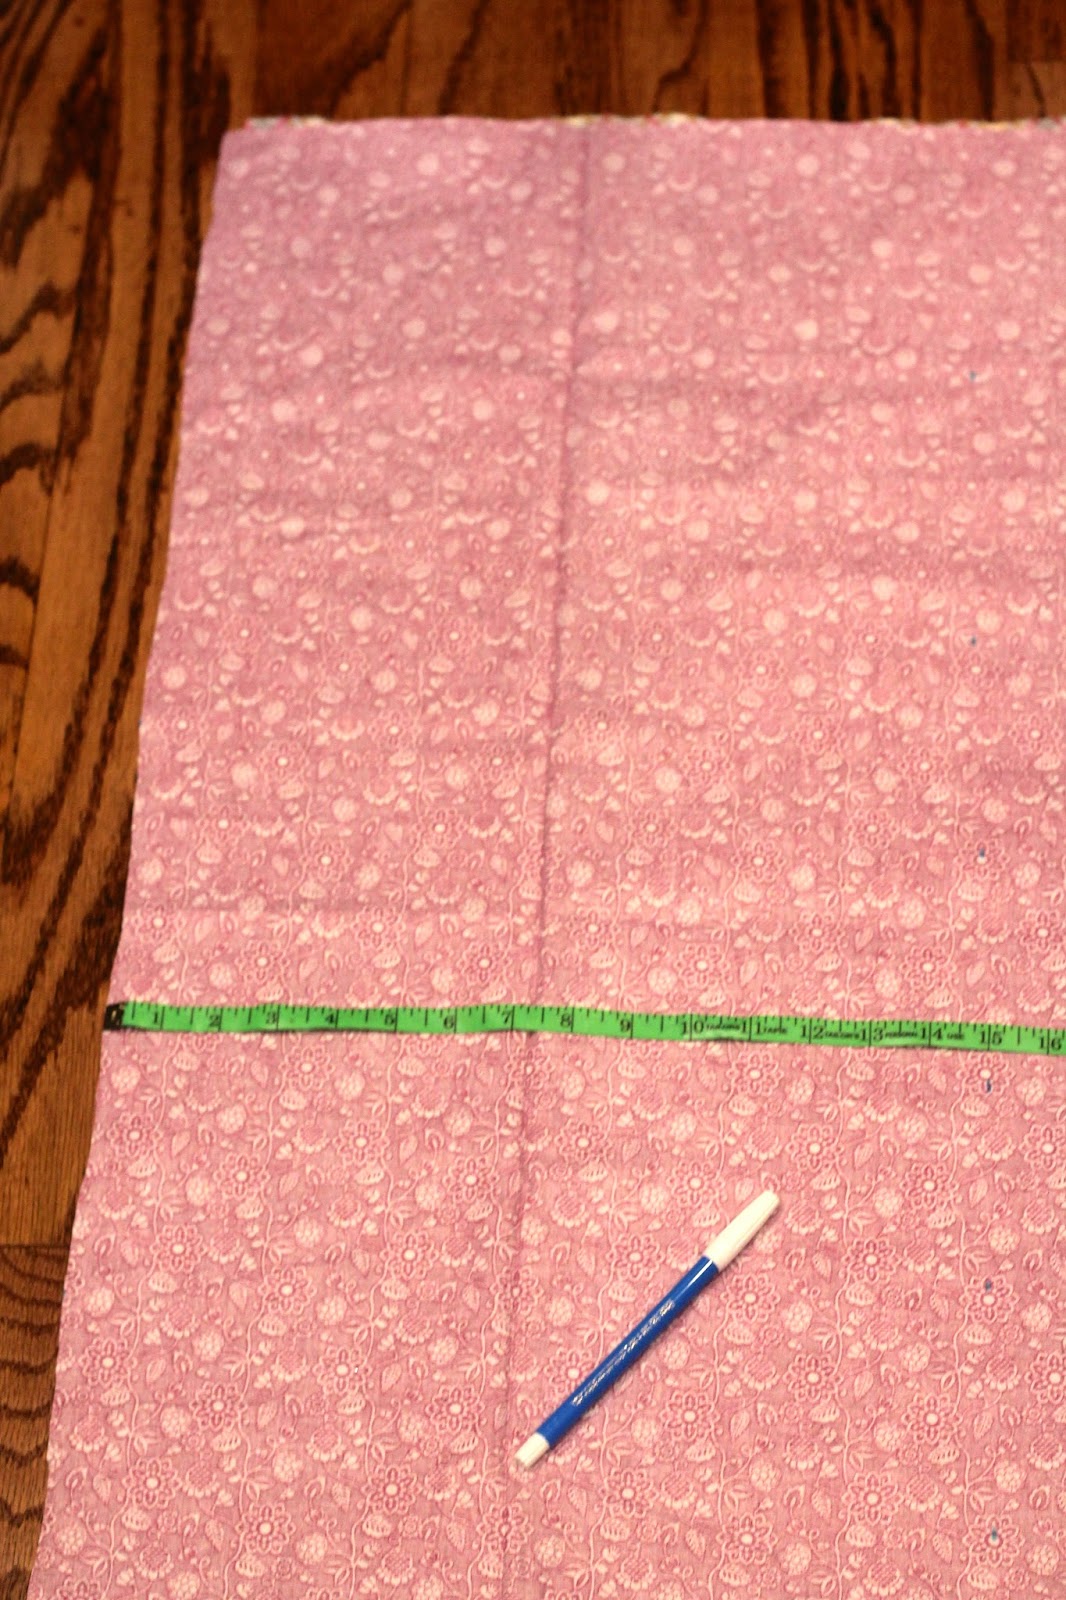
1. Lay out your fabric flat. Measure 15 inches width wise and use a fabric marker to mark where you need to cut. The fabric length will be 37-38 inches which is perfect for the scarf. Do this with both of your fabric pieces so you have two pieces of fabric measuring 38×15″.

2. Place your fabric pieces right side together. Pin edges. Sew a seam along the long sides of the fabric pieces to form a long tube. Use a zig zag stitch to go on the outside edge of your seam along to fabric to help prevent fraying.
3. Turn your fabric tube right side out again.
4. On the short ends of your scarf, tuck in the edges.
5. Lay out your scarf flat. Then take one short end and bring it up to the other short end to form a circle. Twist one end then insert it into the other end (like you are putting a letter in an envelope) and pin.
6. Sew across your pinned seam. Trim the edges and you are done!
I love the way the twisted portion really shows off the two different prints used!
Other great DIYed gift ideas:
No Sew Statement Belt/Maternity Sash
linking up with Creative Corner

