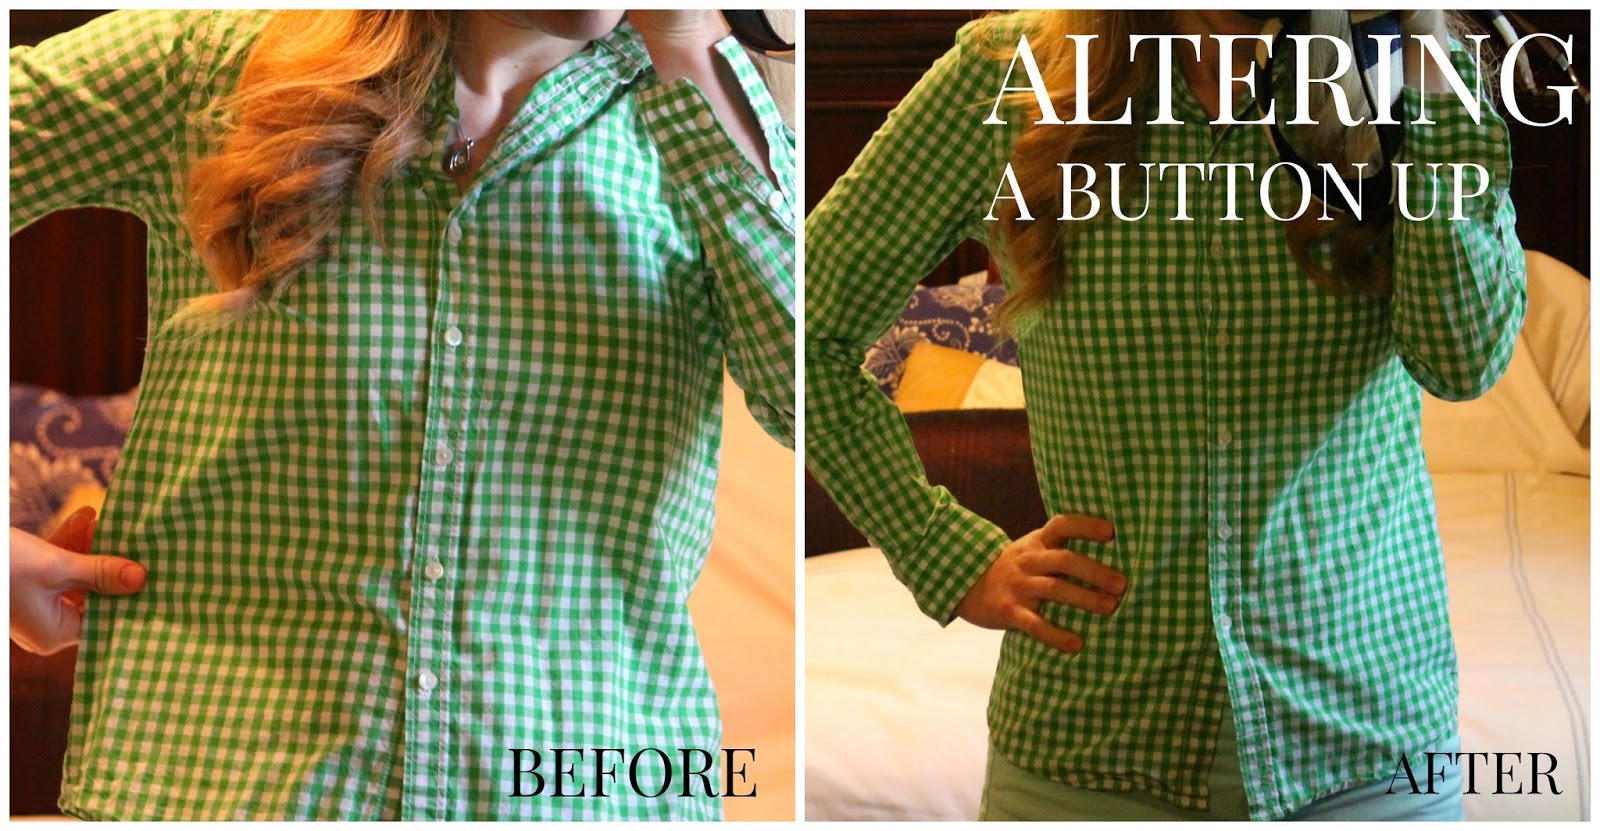
I love my button up shirts. They are so versatile. But so many people have problems with finding button up shirts that fit. Too boxy, too tight, the problems are numerous. I am breaking down two ways to take in a boxy button up.
1. A Button That is Big All Around
One thing I want to note with altering a button up. Many button ups have flat seams such as this one. By altering it, you will no longer have that type of seam. For me, it didn’t matter. If it matters to you, just have it altered by a tailor. Or, get way better than me at altering and learn how to do that type of seam! 😉
If the excess material is in front and behind then you can take in the side seams. Start off by turning it inside out and pinning the sides. I used a button up that fits me well and laid it over top of this one to get an idea of how much I needed to take in. With cotton shirts, I only take in the sides (from the bottom to the arm seam) because if you take in material under your armpit you can restrict arm movement and the arms fit me ok anyway.
You can kind of see how I angled the pins to the edge of the original seam as it gets closer to the armpit. I measured to make sure each side was even. And because I was not taking in the same amount the entire seam, I folded over the sides and lined them up. That is another way you are able to check the seams will be even on both sides.
Sew it up. Then turn it ride side out again and try it on. If everything fits then turn it inside out again and cut the excess material off within about 1/4″ of the seam you made. Then zigzag stitch the edges so they don’t fray.
And the after! There is less material and boxiness all around. Taking in the seams really made a difference on this top!
2. A Button up That is Big Only in Back
For girls that are larger up top, making darts in the back might be a good solution to ensure your buttons are not pulling in the front. This type of alteration only takes in fabric in the back of the garment. I also like it when you plan on tucking in your shirt a lot. Making darts helps so you don’t have that weird poof in the back. This button up has already been taken in at the seams, but I still had a lot of fabric in the back so I went ahead and added darts. It’s a very quick and simple process, you just have to be sure to make the darts even and the same length.
First turn your shirt inside out and beg your husband to do some rough pinning for you. It helps you get an idea of how much to take in. So of course I measured how much to take in and re-pinned it to make sure everything was lined up correctly.
Then I lined up the pinned areas together so I could make sure I was taking in the same amount AND that they were centered. I judged that according to the side seam. You can see in the picture the side seams are lined up, one on top of each other with the right side of the fabric facing in.
Here is another picture showing how I lined them up to check for evenness. Once you are set with that, sew them up angling at the top and bottom of the dart. That way you are taking in the most fabric in the middle of the dart and angling to basically nothing at the top and bottom.
Make sure the bottoms and tops of both darts are even with each other. Re-sew them if not. Don’t worry about cutting off the extra fabric. You probably won’t be taking in more than an inch for each dart and they look fine just like this.
And here is the finished product! You can kind of see how big it was here or here, although I didn’t choose any pictures that highlighted the poor fit for blog posts!

Next week I will be showing you how to hand sew a hem. It’s easier than it sounds and looks really nice when you are done!
Don’t forget to link up a post to Confident Twosday and enter the giveaway for $50 to White Plum! Use code IDODECLAIRE for 20% off!

Linking up with Passion for Fashion @ Lena B Actually and Rachel the Hat, Friday’s Fab Favorites, Favorite Fashion Friday, Fashion Item Friday

